Solid Mechanics: Bridge Design!
ENGS 33: Solid Mechanics is a class that introduces you to mechanics principles that involve stress and strain analysis, working mostly with beams. From the start, I loved the material and found it extremely interesting and rewarding to study. The concepts are very intuitive and easy to grasp! The bridge design project consists of four phases.
The criteria all bridge designs had to adhere to:
- The American Association of State Highway and Transportation Officials (AASHTO)
- The Load and Resistance Factor Design (LRFD)
- The Guide Specifications for the Design of Pedestrian Bridges
- The International Building Code (IBC)
We had to build a scale model at 1/16 of the real-sized bridge, made of wood and able to withstand 1kN of load on the deck and 0.1kN of load on each railing. Specific length, width, and height requirements were met as well, and minimum weight was prioritized.
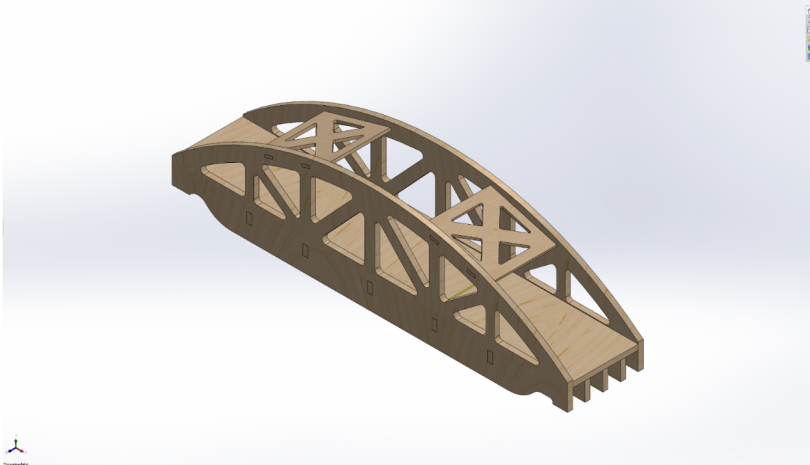
Phase 1 involved researching an existing bridge design, analyzing its advantages and disadvantages, and ultimately coming up with a final design. I researched the Burr Arch Truss bridge, where the truss of the bridge has an additional arch across it, reinforcing its support. As a team, we decided on a bowstring arch with a Pratt truss design.
For Phase 2, we were tasked with conducting bending stress analysis on the deck of the bridge and tensile/compressive analysis on our truss, making sure that our design meets all requirements. This took a long time as we did the calculations by hand. I investigated how the truss tensile and compressive capacity would change if we increased the number of members.

From all the knowledge we gained through Phase 2, we designed a new bridge for Phases 3 and 4 of construction and testing!

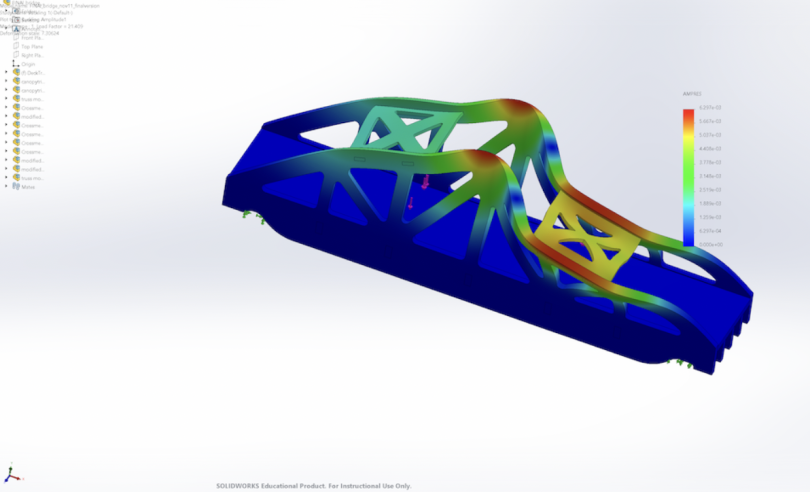
I loved learning more about SOLIDWORKS through his class and its many applications in the industry. We ran finite element analysis (FEA) on our model as well to test its yield strength and factor of safety for both force and buckling!

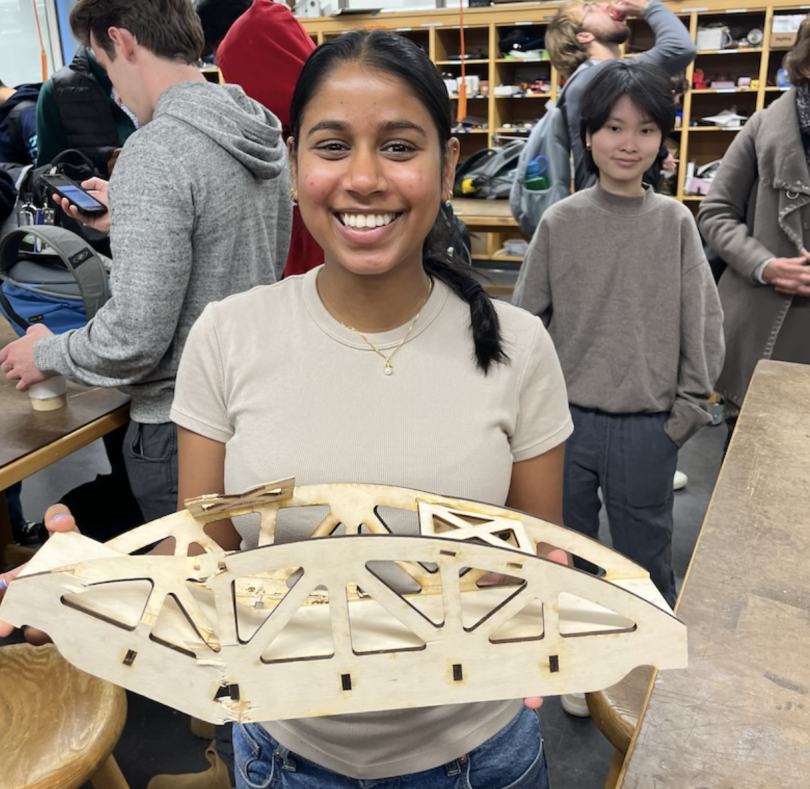
For Phase 3, we then used a laser cutter on sheets of birch plywood to cut out our parts. The gluing of the parts together took us more than two hours to complete because we wanted to be careful and make sure our bridge would hold together.
During the bridge testing, Phase 4, our model ended up holding 10kN of weight and only weighing 527 grams! I believe that it was because we did a really good job gluing the parts together. The next step is a small final presentation about where our bridge failed and what we learned from this project.

To learn more about awesome engineering courses, check out the catalog here!


